


How to Steam Milk at Home
Mastering how to steam milk at home is the single skill that separates a great home coffee from a flat, forgettable one. This guide covers everything: equipment, technique, temperatures, and how to steam milk for a latte, flat white, and cappuccino, so you can produce café-quality results every time.
What is Steamed Milk (and Why Does it Matter for Coffee)?
Steamed milk is milk heated and aerated using pressurised steam from an espresso machine's steam wand, creating a smooth, velvety texture known as microfoam (or micro-foam). That texture is what makes or breaks the drink.
Why it matters:
-
Flavour: Properly steamed milk enhances the perceived sweetness of the espresso and lifts its tasting notes, rather than masking them. Cold milk poured directly into espresso does the opposite, flattening everything.
-
Temperature: Steamed milk brings the drink to a comfortable, enjoyable drinking temperature without scalding.
-
Texture: Microfoam gives the drink a creamy mouthfeel that hot milk alone can't replicate.
-
Latte art: It's only possible with correctly steamed milk. The surface tension and texture of microfoam are what allow free-pour designs to hold their shape.
What You Need to Steam Milk at Home
You don’t need anything fancy to produce steamed milk at home. If you have a coffee machine, you probably already have a steam wand built in.
Espresso Machine with a Steam Wand
The steam wand is a pressurised metal arm found on most home espresso machines, and the gold-standard tool for true microfoam. It releases pressurised steam through a small nozzle, heating the milk rapidly while forcing air into build microfoam. If your machine doesn't include one, standalone steam wand units are available separately.
Milk Pitcher
A stainless-steel milk pitcher is non-negotiable as steel conducts heat, letting you judge temperature through the side. Standard sizes are 300ml (1–2 coffees) and 600ml (3–4 coffees). A pointed spout gives more control for latte art. Never fill above the bottom of the spout; the milk expands during steaming.
Thermometer
A clip-on thermometer removes the guesswork. Aim for 55°C–65°C; anything above 70°C burns the milk. As your technique develops, you'll learn to judge by touch, but a thermometer is a great safety net while you're learning.
How to Steam Milk Without a Steam Wand
Yes, you can steam milk at home without a steam wand, but the results won't match true microfoam. Here are the three main alternatives:
-
Handheld electric frother: Heat the milk in a small pan on the stove to around 60°C, then submerge the frother and run it for 20–30 seconds. You'll get a reasonable foam that’s light and airy rather than dense and velvety, but usable.
-
French press: Heat the milk on the stove, pour it into a French press, then pump the plunger up and down vigorously for 30 seconds. This creates a thicker, coarser foam and works well for cappuccinos; it’s less ideal for lattes or flat whites, where you want that silky texture.
-
Microwave and lidded jar: Heat a small amount of milk in the microwave in a lidded jar or container, then shake it hard for 20–30 seconds. This is the least reliable method as temperature is harder to control, and the foam tends to be large-bubbled and short-lived.
All of these are workarounds. A steam wand produces consistently superior microfoam, so if you're serious about your home coffee, it's worth investing in a machine that includes one.
|
Method |
Foam Quality |
Effort |
Best For |
|
Steam wand |
Excellent: true microfoam |
Low (once learned) |
All espresso drinks |
|
Handheld frother |
Good: light, airy foam |
Low |
Lattes, cappuccinos |
|
French press |
Decent: thick, coarser foam |
Medium |
Cappuccinos |
|
Microwave + jar |
Poor: large, short-lived bubbles |
Low |
Last resort |
The Best Milk for Steaming
The best milk for steaming is whole (full-fat) dairy milk because its natural fat-to-protein ratio creates the most stable, glossy microfoam, which is why most baristas default to it. Whatever you use, always start cold from the fridge (it gives you more control) and never use UHT milk, because it foams poorly due to altered protein structure.
|
Milk Type |
Foam Quality |
Flavour Profile |
Best For |
|
Whole milk (full-fat) |
Excellent: stable, glossy |
Rich, creamy, slightly sweet |
All drinks |
|
Semi-skimmed |
Good: can be less stable |
Lighter than whole |
Lattes |
|
Skimmed |
Poor: thin, watery foam |
Flat, lacks richness |
Not recommended |
|
Oat milk (barista) |
Excellent: creamy |
Neutral, slightly sweet |
All drinks |
|
Soy milk (barista) |
Good: can split if too hot |
Mild, slightly beany |
Lattes, cappuccinos |
|
Almond milk (barista) |
Moderate: lighter foam |
Nutty, slightly sweet |
Flat whites, lattes |
|
Coconut milk (barista) |
Good: rich texture |
Distinctly coconutty |
Matcha |
Whatever your preference, the barista-edition versions of plant milks are worth seeking out. These are formulated not to split or curdle under heat, so standard supermarket oat or soy milk often won't foam properly. Oat milk (barista edition) is the closest to whole dairy milk in behaviour and flavour.
What Temperature Should Steamed Milk Be?
Steamed milk should reach 55°C–65°C. The Speciality Coffee Association (SCA) recommends this as the ideal range, as it is hot enough to be enjoyable but not so hot that the milk's proteins break down. Never let milk exceed 70°C; above this point, the milk burns, the foam collapses, and the drink tastes and smells unpleasant.
|
Temperature |
What Happens |
Action |
|
Below 55°C |
Foam is thin, watery, and breaks down quickly |
Keep steaming |
|
55°C – 65°C |
Ideal with smooth, glossy microfoam, great flavour |
Remove from steam |
|
65°C – 70°C |
Acceptable but approaching the limit |
Remove immediately |
|
Above 70°C |
Milk burns — bitter taste, foam collapses, discard and retry |
Start again |
Hand-test tip: Hold your free hand lightly against the side of the pitcher. When it becomes too hot to hold comfortably for more than a second, you're in the zone, so pull away from the steam wand immediately. Always err cooler rather than hotter: under-steamed milk can be corrected; burnt milk cannot.
How to Steam Milk: Step-by-Step Guide
Follow these steps in order. With consistent technique, the whole process takes under a minute.
-
Pour cold, fresh milk into a clean stainless-steel pitcher, filling to just below the spout. Leave room for expansion.
-
Purge the wand: Open the valve for 1–2 seconds to expel residual water, then close it.
-
Position the wand: rest the nozzle against the inside of the spout, submerging the tip just below the milk's surface.
-
Stretching phase: Open the wand fully and listen for a soft, controlled hiss. This is air-building microfoam. This takes 1–3 seconds for a flat white, 3–5 seconds for a latte, and 8–10 seconds for a cappuccino.
-
Texturing phase: Lower the wand fully beneath the surface and tilt the pitcher to create a swirling whirlpool. The hissing should stop as you're now heating and integrating the foam.
-
Monitor temperature: Aim for 60–65°C. Remove from the steam when the pitcher is hot but not painful to hold.
-
Turn off the wand before removing the pitcher. Never pull away while it's still running.
-
Purge and wipe the wand immediately with a damp cloth. Milk left to dry blocks the nozzle.
-
Tap and swirl the pitcher on the counter to burst large bubbles and integrate the foam.
-
Pour immediately. Steamed milk separates quickly, so don't let it sit.
How to Steam Milk for Different Coffee Drinks
The core technique stays the same for every drink. What changes is how much air you introduce during the stretching phase. More air means more foam; less air means a denser, silkier milk.
|
Coffee Type |
Foam Depth |
Stretching Time |
Milk Volume |
Texture |
|
Flat White |
~0.2cm |
1-3 seconds |
90-120ml |
Dense, velvety, glossy |
|
Latte |
0.5-1cm |
3-5 seconds |
150-180ml |
Silky, pourable, smooth |
|
Cappuccino |
1-2cm |
8-10 seconds |
100ml+ |
Stiff, dry foam on top |
How to Steam Milk for a Latte
For a latte, you're aiming for a thin, 0.5–1cm layer of microfoam: smooth, pourable, and fully integrated with the milk. Keep the stretching phase to 3–5 seconds, then move quickly to texturing. The finished milk should be silky enough to coat the back of a spoon and flow cleanly from the pitcher. Use 150–180ml per double espresso shot.
How to Steam Milk for a Flat White
Steaming milk for a flat white is the hardest to get right because the margin is tiny. You want virtually no foam: just 1–3 seconds of stretching, barely a whisper of air. The result should be a dense, velvety, almost mirror-like milk with no visible foam layer. Use 90–120 ml per double espresso. Too much air and you've made a latte.
How to Steam Milk for a Cappuccino
A cappuccino needs significantly more foam: thick, dry, and stiff enough to hold its shape above the rim of the cup. Extend the stretching phase to 8–10 seconds. The foam should be dense enough to spoon on rather than pour. Aim for roughly equal thirds: espresso, steamed milk, foam. Whole milk or barista oat milk produces the most stable cappuccino foam.
How to pour steamed milk
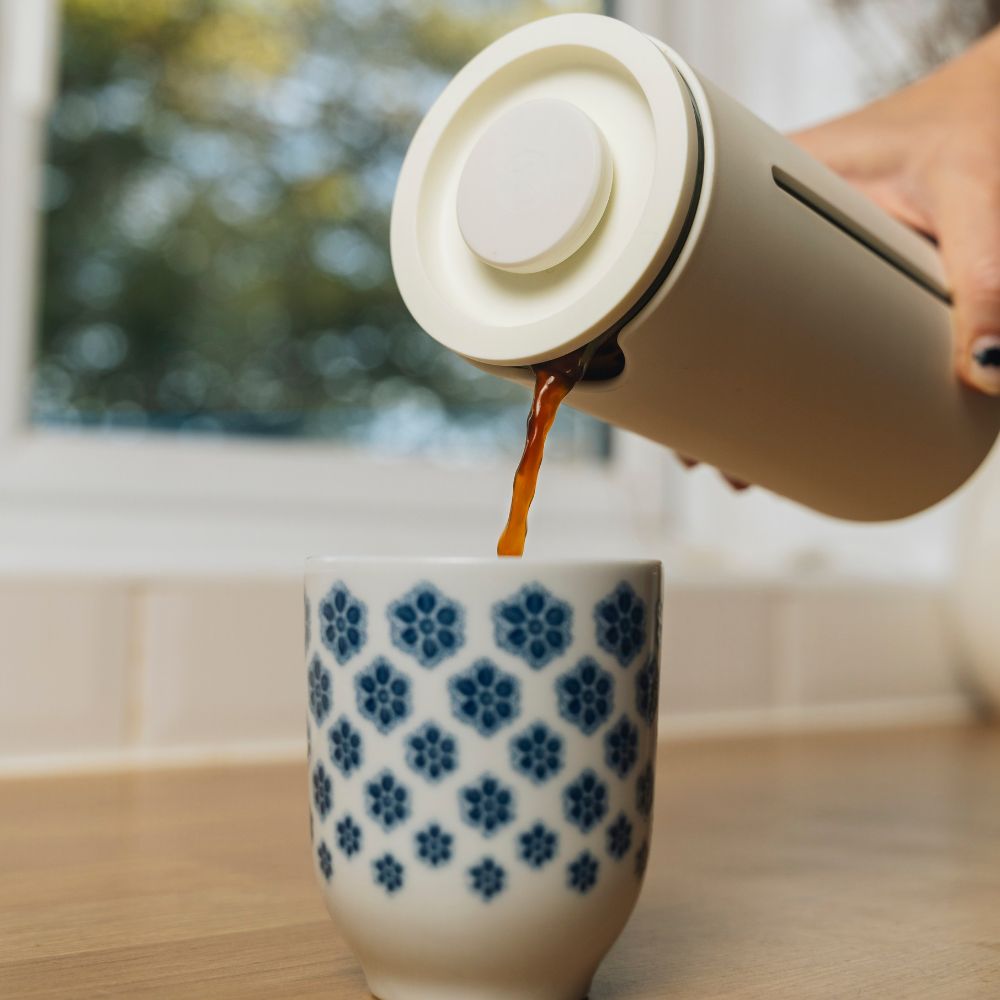
Once you've steamed your milk, pour immediately. The longer you leave it, the more the foam separates from the milk below. Tilt the cup slightly toward the pitcher before you start. Pour from a small height initially (around 5cm) to blend the milk into the espresso, then bring the pitcher lower and closer to the surface to introduce the foam and begin any latte art.
For a simple heart (the best starting point), pour toward the back of the cup, then cut a thin stream through the centre as the cup fills. Don't rush it. Slow, steady pours give you control; fast ones give you splashes.
Common Steaming Mistakes and How to Fix Them
Most steaming problems fall into one of six categories. Here's how to identify and fix each one.
|
Problem |
Cause |
Fix |
|
Foam is watery and collapses quickly |
The stretching phase was too short, or the milk type isn't ideal |
Add 2–3 seconds to the stretching phase. Switch to whole milk or a barista-edition plant milk |
|
Uneven heating or cold patches |
The whirlpool motion during texturing isn't consistent, so the milk isn't circulating evenly |
Tilt the pitcher more aggressively and maintain a steady vortex throughout the texturing phase |
|
Steam wand blocked or spluttering |
Milk dried inside the wand after a previous use |
Soak the wand tip in warm water to loosen the residue, then purge fully. Wipe and purge after every use |
|
Foam separating before you pour |
The pitcher was left sitting too long after steaming |
Pour immediately after tapping and swirling. Once the foam starts rising, you've lost the texture |
Frequently Asked Questions
Can you steam milk without a steam wand?
Yes. A handheld electric frother, French press, or microwave-and-jar method all work as alternatives. Heat the milk first in each case, then aerate. None replicate true microfoam, but they produce usable foam for home coffee when a steam wand isn't available.
What temperature should steamed milk be?
The ideal temperature is 55°C–65°C, as recommended by the Speciality Coffee Association. Never exceed 70°C, as above this point, milk proteins break down, the foam collapses, and the milk tastes burnt. Use a thermometer until judging by touch feels reliable.
What is the difference between steamed milk and frothed milk?
Steamed milk is lightly aerated with a steam wand to produce a smooth, integrated microfoam: dense and silky. Frothed milk has significantly more air whipped in, creating a thick, dry foam that sits on top of the drink. A latte uses steamed milk; a cappuccino uses both steamed milk and a thick foam layer on top.
Can you re-steam milk that has gone cold?
No. Re-steaming breaks down the proteins further and produces a flat, thin result with poor flavour. Always start with fresh cold milk for each serving.
Why does my steamed milk have large bubbles?
The steam wand nozzle is sitting too close to the milk's surface. Submerge the tip just below the surface and listen for a soft, controlled hiss rather than a loud splatter. Large bubbles can also be reduced by tapping the pitcher firmly on the counter after steaming.
Can you steam non-dairy milk?
Yes. Use barista-edition oat, soy, or almond milk. These are formulated not to split under heat. Always use cold from the fridge, shake before pouring, and be careful not to overheat, as plant milks reach the danger zone faster than dairy.
How much milk should I put in the pitcher?
Fill to just below the bottom of the spout. As a guide: 150–180ml for a latte, 90–120ml for a flat white, 100ml+ for a cappuccino. Always leave room for the milk to expand during steaming.
Leave a comment
Comments will be approved before showing up.