


How to Froth Milk
Here’s how to froth milk at home using simple tools like a steam wand, milk frother, French press or even a whisk.
With the right technique, you can make coffee-shop quality lattes, cappuccinos and hot chocolates without needing a professional espresso machine.
This guide covers everything you need to know about frothing milk, from equipment and milk choice to step-by-step methods and troubleshooting.
Equipment You’ll Need
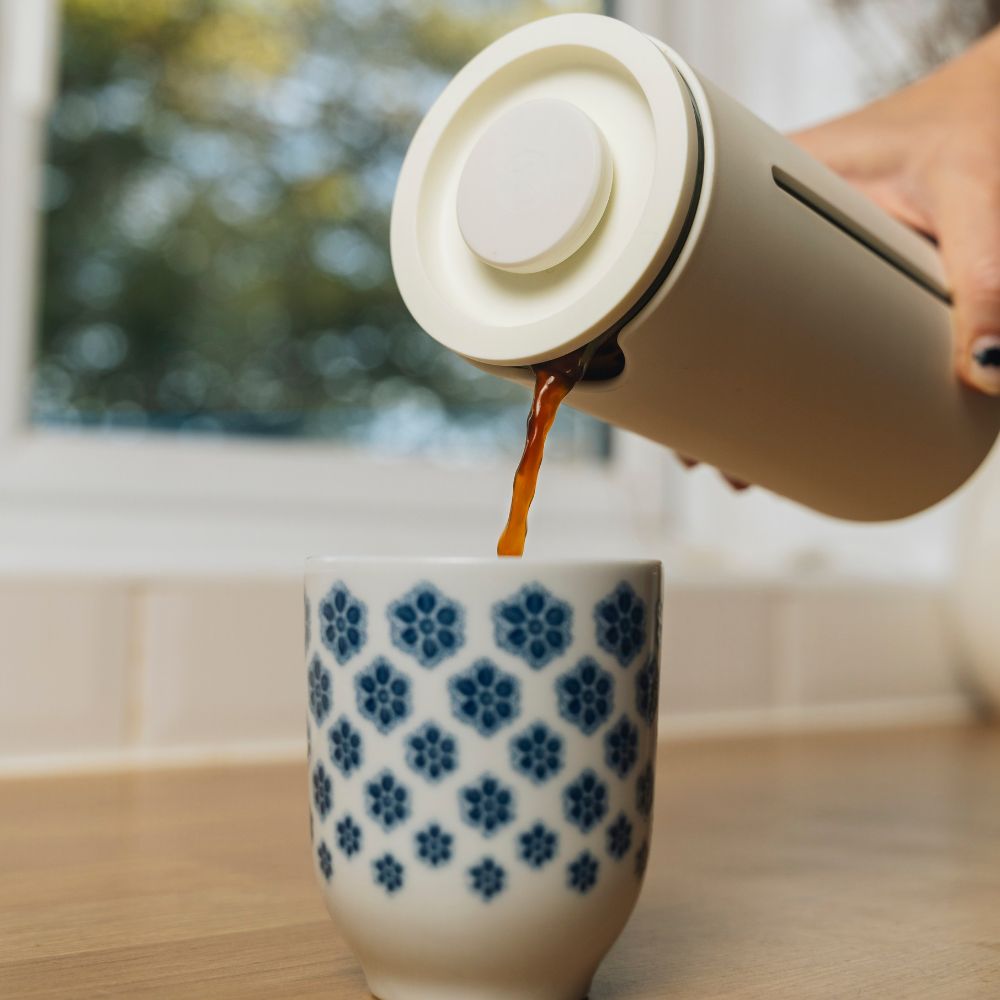
Before you start frothing milk at home, you’ll need the right equipment…
- A jug or heatproof container (we recommend our Barista Milk Pitcher for smooth, easy frothing!)
- Steam wand (if you’ve got an espresso machine)
- Handheld frother or manual pump frother
- French press (great for thick foam)
- Balloon whisk (for old-school frothing)
- Saucepan or microwave-safe jug
- Thermometer (optional, but handy if you like it precise
Best Milk for Frothing
Different milks behave in slightly different ways when frothed, and we’ve found a few favourites here at Crosby Coffee:
- Whole milk – Our go-to for lattes and cappuccinos. It produces smooth, creamy microfoam and holds up well when pouring. Tip: Use fresh, cold milk for the creamiest results.
- Semi-skimmed – A good balance between foam and richness. It froths easily but gives a slightly lighter body than whole milk, making it perfect for everyday lattes.
- Skimmed milk – Produces lots of airy foam, though it’s less creamy. Great if you like a very light, frothy top on your drink, but the foam can collapse faster.
- Oat milk (barista style) – Silky and stable foam that’s perfect for plant-based lattes. Non-barista oat milks froth too, but the foam may be lighter and less stable. Tip: Heat gently to avoid breaking the froth!
- Soy milk – Smooth and reliable, with foam that holds well. Ideal if you prefer a slightly richer plant-based option. Some soy milks can taste a bit “beany” when overheated, so stick to moderate heat.
- Almond milk – Froths quickly, but the bubbles are larger and the foam lighter. Best for drinks you plan to serve immediately. Tip: Shake or whisk gently to get a creamier texture!
Quick tip – always start with cold milk straight from the fridge. It traps air better and gives a more consistent foam!
Step‑by‑Step Guide to Frothing Milk
Now you know what you need and which milk is best, it’s time to get started! Here are some of the best methods (depending on what equipment you have):
Method 1: Using a Steam Wand
- Fill your metal jug halfway with cold milk
- Purge the steam wand for a second or two to clear any water
- Position the wand just below the milk surface and turn on the steam
- Introduce some air for a few seconds, then lower the wand to heat the milk evenly
- Stop when the milk is around 60 to 65°C
- Tap the jug gently on the counter and swirl to smooth out any large bubbles
Method 2: Using a Handheld Frother
- Warm your milk until it’s steaming gently, not boiling
- Submerge the frother just below the surface
- Switch it on and move it up and down for 15 to 30 seconds
- You’ll see it start to thicken and create a creamy foam!
Method 3: Using a French Press
- Warm your milk in a jug or saucepan
- Pour it into the French press, filling no more than halfway
- Pump the plunger up and down quickly for 20–30 seconds
- Let it settle for a moment, then swirl gently
Using a Whisk or Jar
- Whisk – Heat the milk in a saucepan and whisk briskly until foam forms.
- Jar – Pour cold milk into a jar, screw the lid on, shake for 30–60 seconds, then microwave for 30 seconds to stabilise the foam.
Quick Frothing Comparison
|
Method |
Best For |
Foam |
Ease |
|
Steam Wand |
Lattes, cappuccinos |
Silky, smooth |
Medium |
|
Handheld Frother / Pump |
Quick lattes & flat whites |
Light, creamy |
Easy |
|
French Press |
Hot chocolate, mochas |
Thick, stable |
Medium |
|
Whisk |
Small amounts, kids’ drinks |
Airy |
Easy |
|
Jar (Shake Method) |
Quick drinks, fun for kids |
Light, bubbly |
Very easy |
Common Frothing Problems (And Easy Fixes)
Even experienced baristas have off days, so don’t worry if your milk doesn’t turn out perfect every time! Here are the most common issues and why they happen:
- Big bubbles / dry foam – This usually happens when too much air gets into the milk too quickly. Keep your frother or steam wand just below the surface and introduce air slowly.
- No foam at all – Milk that’s too warm or old won’t froth properly. Always start with cold, fresh milk straight from the fridge.
- Foam collapses quickly – Low-fat milk or over-aerated foam can cause it to deflate. Use whole milk or barista-style plant milk and don’t over-froth.
- Burnt or scorched taste – Milk that’s overheated loses its natural sweetness and can taste burnt. Heat gently, aiming for around 60–65°C, and avoid boiling.
- Foam too thin or watery – This happens when milk isn’t cold enough or the frothing technique isn’t consistent. Chill your milk first and froth steadily, then swirl gently to combine foam and milk.
Top Tips from Our Baristas
- Don’t overheat milk (it loses froth potential and can taste burnt!)
- Tap and swirl your jug to get smooth, even foam
- Use fresh milk for the best texture and taste
- Experiment! Try different milks and techniques until you find your perfect foam
Best Ways to Enjoy Frothed Milk

There are many ways you can enjoy frothed milk with your drinks, from your classic latte to a delicious hot chocolate. Here are some of the best ways:
- Cappuccino – Thick, airy foam over espresso
- Latte – Smooth microfoam for a creamy experience
- Flat white – Silky, velvety layer of foam
- Hot chocolate – A fluffy, indulgent topping
- Matcha latte or chai latte – Adds a soft, creamy layer to brighten your drink
Learn How to Make the Perfect Brew Today
Want to take your coffee skills to the next level? We’ve got you covered.
Join us at Crosby Coffee for our 3-hour long Espresso & Milk Workshop and learn how to create the perfect brew and frothy milk every time. It’s hands-on, friendly, and a lot of fun – we can’t wait to see you there!
Note – If you’re coming alone, it’ll cost just £70 – but if you come with a friend or loved one, we’ll knock £5 off!
Leave a comment
Comments will be approved before showing up.